One of the coolest things about the game of golf is the fact that we play the same game as the pros. Most of us will never take batting practice in Yankee Stadium, but we can play on many of the same courses where Tour events are held and where majors have been won. More than any other sport, we can compare our abilities to the game's giants. We can stand in the exact spots where historic shots have been struck, give it a try ourselves and see how we measure up.
And for many of us, emulating the swings and techniques of the game's best players is a fun challenge and a pathway to improvement.
We'd all like to do what the pros can do, but how many among us have taken the next step in logic? To play like the best, doesn't it make sense to train like the best?
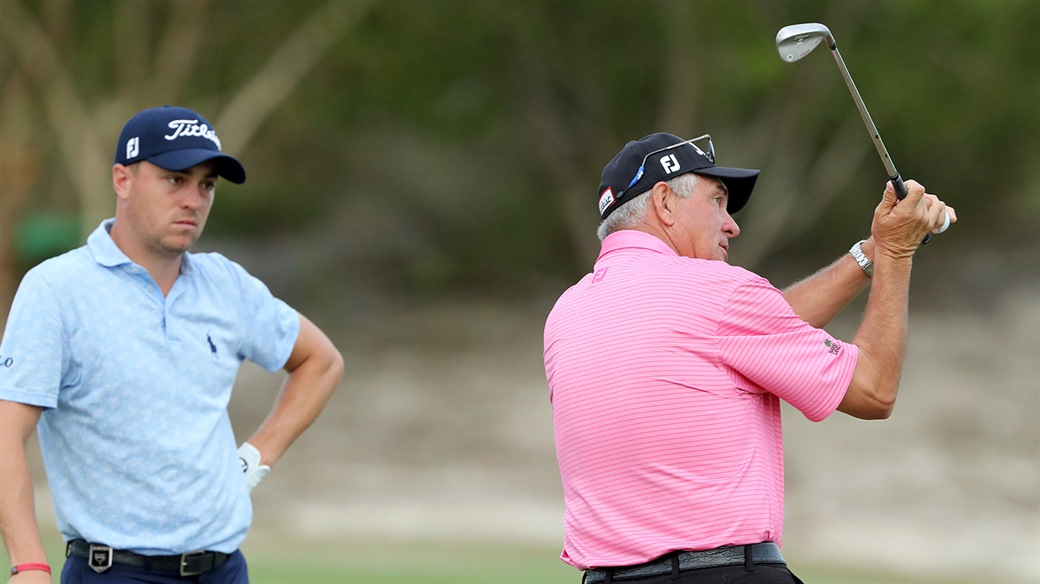
For insight into that process, we're thrilled to welcome a PGA instructor and Titleist staff member who speaks with a lot of authority on the subject. Mike Thomas has developed one of the greatest talents in the game, his own son, Titleist Brand Ambassador Justin Thomas. We reached out to Mike and he's been kind enough to share one of the pillars of his teaching philosophy – to get better, you have to practice smart.
We hope you enjoy the wisdom from Mike that follows. Let us know if it pays some dividends in your game!
• • •

SMART PRACTICE TO MAXIMIZE YOUR IMPROVEMENT
One of the biggest mistakes I see my higher level students make when I first meet them, is poor practice habits. The belief that improvement is based on the QUANTITY of time spent versus QUALITY of time spent, couldn’t be farther from the truth. While it is important to establish sound fundamentals with all of my students, we quickly transition into practice that can be “graded” with a score.
This could be a wedge test on Trackman that I have set up, a full shot “can’t miss left, can’t miss right”, to one of the many chipping or putting drills that I use to test someone’s ability to perform.
If there is a mechanical flaw or fundamental that needs work, we will hit multiple shots to establish the change, through repetition of hitting balls, chips, or putts. But after that, most of the practice is based on statistics I ask my students to keep. These stats scream out to both of us, where the lost strokes are coming from. Often, the deficiency in scoring comes less from the fundamental, and more from practice habits that are not transferring from the practice ground to the golf course.
Hitting multiple shots from one place to the same target doesn’t happen on the golf course. It shouldn’t happen in your practice either!
To simulate “on course” play, we have a variety of drills that I run most of my students through. I have a short game sheet I hand to them, explain how each of the drills are done, and ask them to perform a couple of the tests or drills, each time they practice. The goal is to make their practice similar as possible to on-course play.
We assign numerical values to each of the tests or drills, and the student has to accomplish their score before they move onto another area of their game. This practice is finished when you accomplish the target score for that given drill. The scores are relative to the ability level of the student. Most practice is finished when the bag of balls is gone, but the goal here is to make the target score attainable, but a challenge to get to. We want to CHALLENGE the student each time they practice! They are being challenged on the course, why not challenge them in practice?
The established target score will move as well. As they improve, they need a better score to challenge themselves than when they first started the drill. Another aspect of this type of practice is we insist on a full routine on each shot. Again, why hit ball after ball (or chip, or putt) one way, then on the course do it with a full routine? Remember, we want our practice to mimic on-course play. To that extent, many of the short game drills are done with ONE BALL, not multiple balls from one spot, same as on the course, you get ONE SHOT, and have to make it count!
These drills and target scores accomplish a number of important things in your practice:
A) As previously discussed, they MIMIC ON-COURSE PLAY.
B) Your practice is MEASURABLE. Your score on a given drill is indisputable, and lets you know where you stand.
C) You will feel PRESSURE, or nerves, when you practice, same as what you experience on the course.
When you are down to the end of a given test and have to perform to reach your target score, you will feel the nerves. We want that! If you feel pressure in your practice, you will handle it better when you feel it on the course.
I will go over in detail, a few of the drills we use on a daily basis. We don’t do every drill every day, we address the player’s current weakness with a drill that will test it, and alternate drills each day. Example, we may do two putting drills and one chipping drill, and then the next day, do two different chipping drills and one putting drill.
• • •
4-8-FOOT DRILL
This is a putting drill where we set up putts at 4, 5, 6, 7, and 8 feet. We do this in four directions for a total of 20 putts. Each putt is marked with an upright tee in the green. The four directions should give you a left to right, a right to left, a downhill and uphill putt. Use one ball and jump around the 20 putts, not hitting two putts from the same line in succession.
If you make the putt, you tap the tee down, if you miss you tilt the tee over. This way you can go back and see what your count is; what you have made or missed, and what still needs to be putted.
Our goal on tour is 16 out of 20 putts. This is based on Tour average inside 8 feet. I may start a younger player at 12 out of 20. Once they can reach this score on a regular basis, we will increase their target score to further challenge them. Remember, we want the target score to be challenging but attainable. We ask that players use their full routine on each putt. We don’t want a disconnect between how they play, and how they practice.
If you have two putts left and you have to make both to reach your target score (or you have to start over otherwise) you will feel the nerves. That is the goal! You will also pay a lot more attention to your practice so you don’t have to start over.
(NOTE: We have students mark their alignment sticks with a sharpie in one foot increments, to help them measure the distances).
Another good thing to notice in this drill, is you will see a trend for your misses. Everyone does worse in ONE of the areas (left to right, right to left, uphill or downhill). The line of tees with the most misses will show you where you need work.
• • •
PLUS ONE, MINUS ONE DRILL
This is more of a speed drill for putting. We put an alignment stick a reasonable distance behind the hole, 18 inches to 2 feet, based on the ability level. We will do this on two 30-40 foot putts, with one uphill and one downhill. You putt 5 balls. You lose a point for either being short of the hole, or hitting the stick behind the hole, and you get a point for a ball finishing between the hole and the alignment stick (or in the hole).
The target here is you have to get a positive number (more inside the area than outside the area). Your target score could be you have to accomplish it once in both directions, or could be that you have to do it successively in both directions.
If you always get a positive score, tighten the area behind the hole, or assign different point values such as -2 to outside the intended area, and +1 for in the area.
Again, full routine each putt, and base your initial target score on your ability level.
• • •
LAND/FINISH AREA
This is a great chipping drill. While it doesn’t have a score attached to it, it does make you focus on a number of factors when practicing your chipping.
We will put two plastic circles on the green. These circles are 3-6 feet in diameter, based on ability level. One serves as the traget for your LAND area, the other targets your FINISH area. We want to focus on landing our chips in the landing area. The finish area comes into play by controlling your TRAJECTORY of the chip.
So, a ball landing in the correct LANDING area, will only finish in the FINISH area, if it is hit at the intended trajectory. Both the landing and the finish areas, can be moved around to address high to low shots.
You can set target scores here, by having to get a certain number of balls to hit both the land and finish areas. This drill is designed to get the student to think more about their trajectory while practicing, an often overlooked area that greatly determines the success of a solid chip!
• • •
PLUS ONE, MINUS ONE DRILL (CHIPPING)
This is similar to the Plus One, Minus One putting drill above, but adapted for chipping. The same point values are assigned accordingly, depending on the ability level of the student. We use the 3-6 foot diameter circles here also, again depending the ability level.
Five balls, recording a positive number is the goal.
• • •
TRACKMAN WEDGE TEST
One of my favorite things to do with students, this is more of a PITCHING test. I have a number of preset tests set up in my Trackman. There are 15 shots each. A test may be 30-70 yards, 60-110 yards, etc.
Trackman spits out a random number between 60-110 (in the 60-110 test). The student will have hit 15 randomly selected shots, and each shot is given a score by Trackman, based on desired carry distance and how much the shot was off-line. At the conclusion of the test the student is given a final score, and handicap for the test.
Many accomplished juniors are shocked to see they may be an 18 handicap at pitching. This is pretty common. It gets them to pay a lot more attention to the time they spend practicing this area of their game, and how much they pay attention while practicing it.
Again, full routine each shot. The more accomplished the player is, we will call out trajectories for each shot. As an example, Trackman may call out 67 yards for a shot, and I will call out LOW, HIGH, or STOCK shot.
Hopefully, they hit these different trajectories when needed on the course. I want them practicing the same way!
Good luck!
- Mike